Getting Started With ShapeWorks Studio
ShapeWorks Studio provides an all-in-one GUI based interface to the ShapeWorks toolkit. In Studio, you can manage input Data, Groom, Optimize and Analyze your data all within a single interface.
Splash Screen
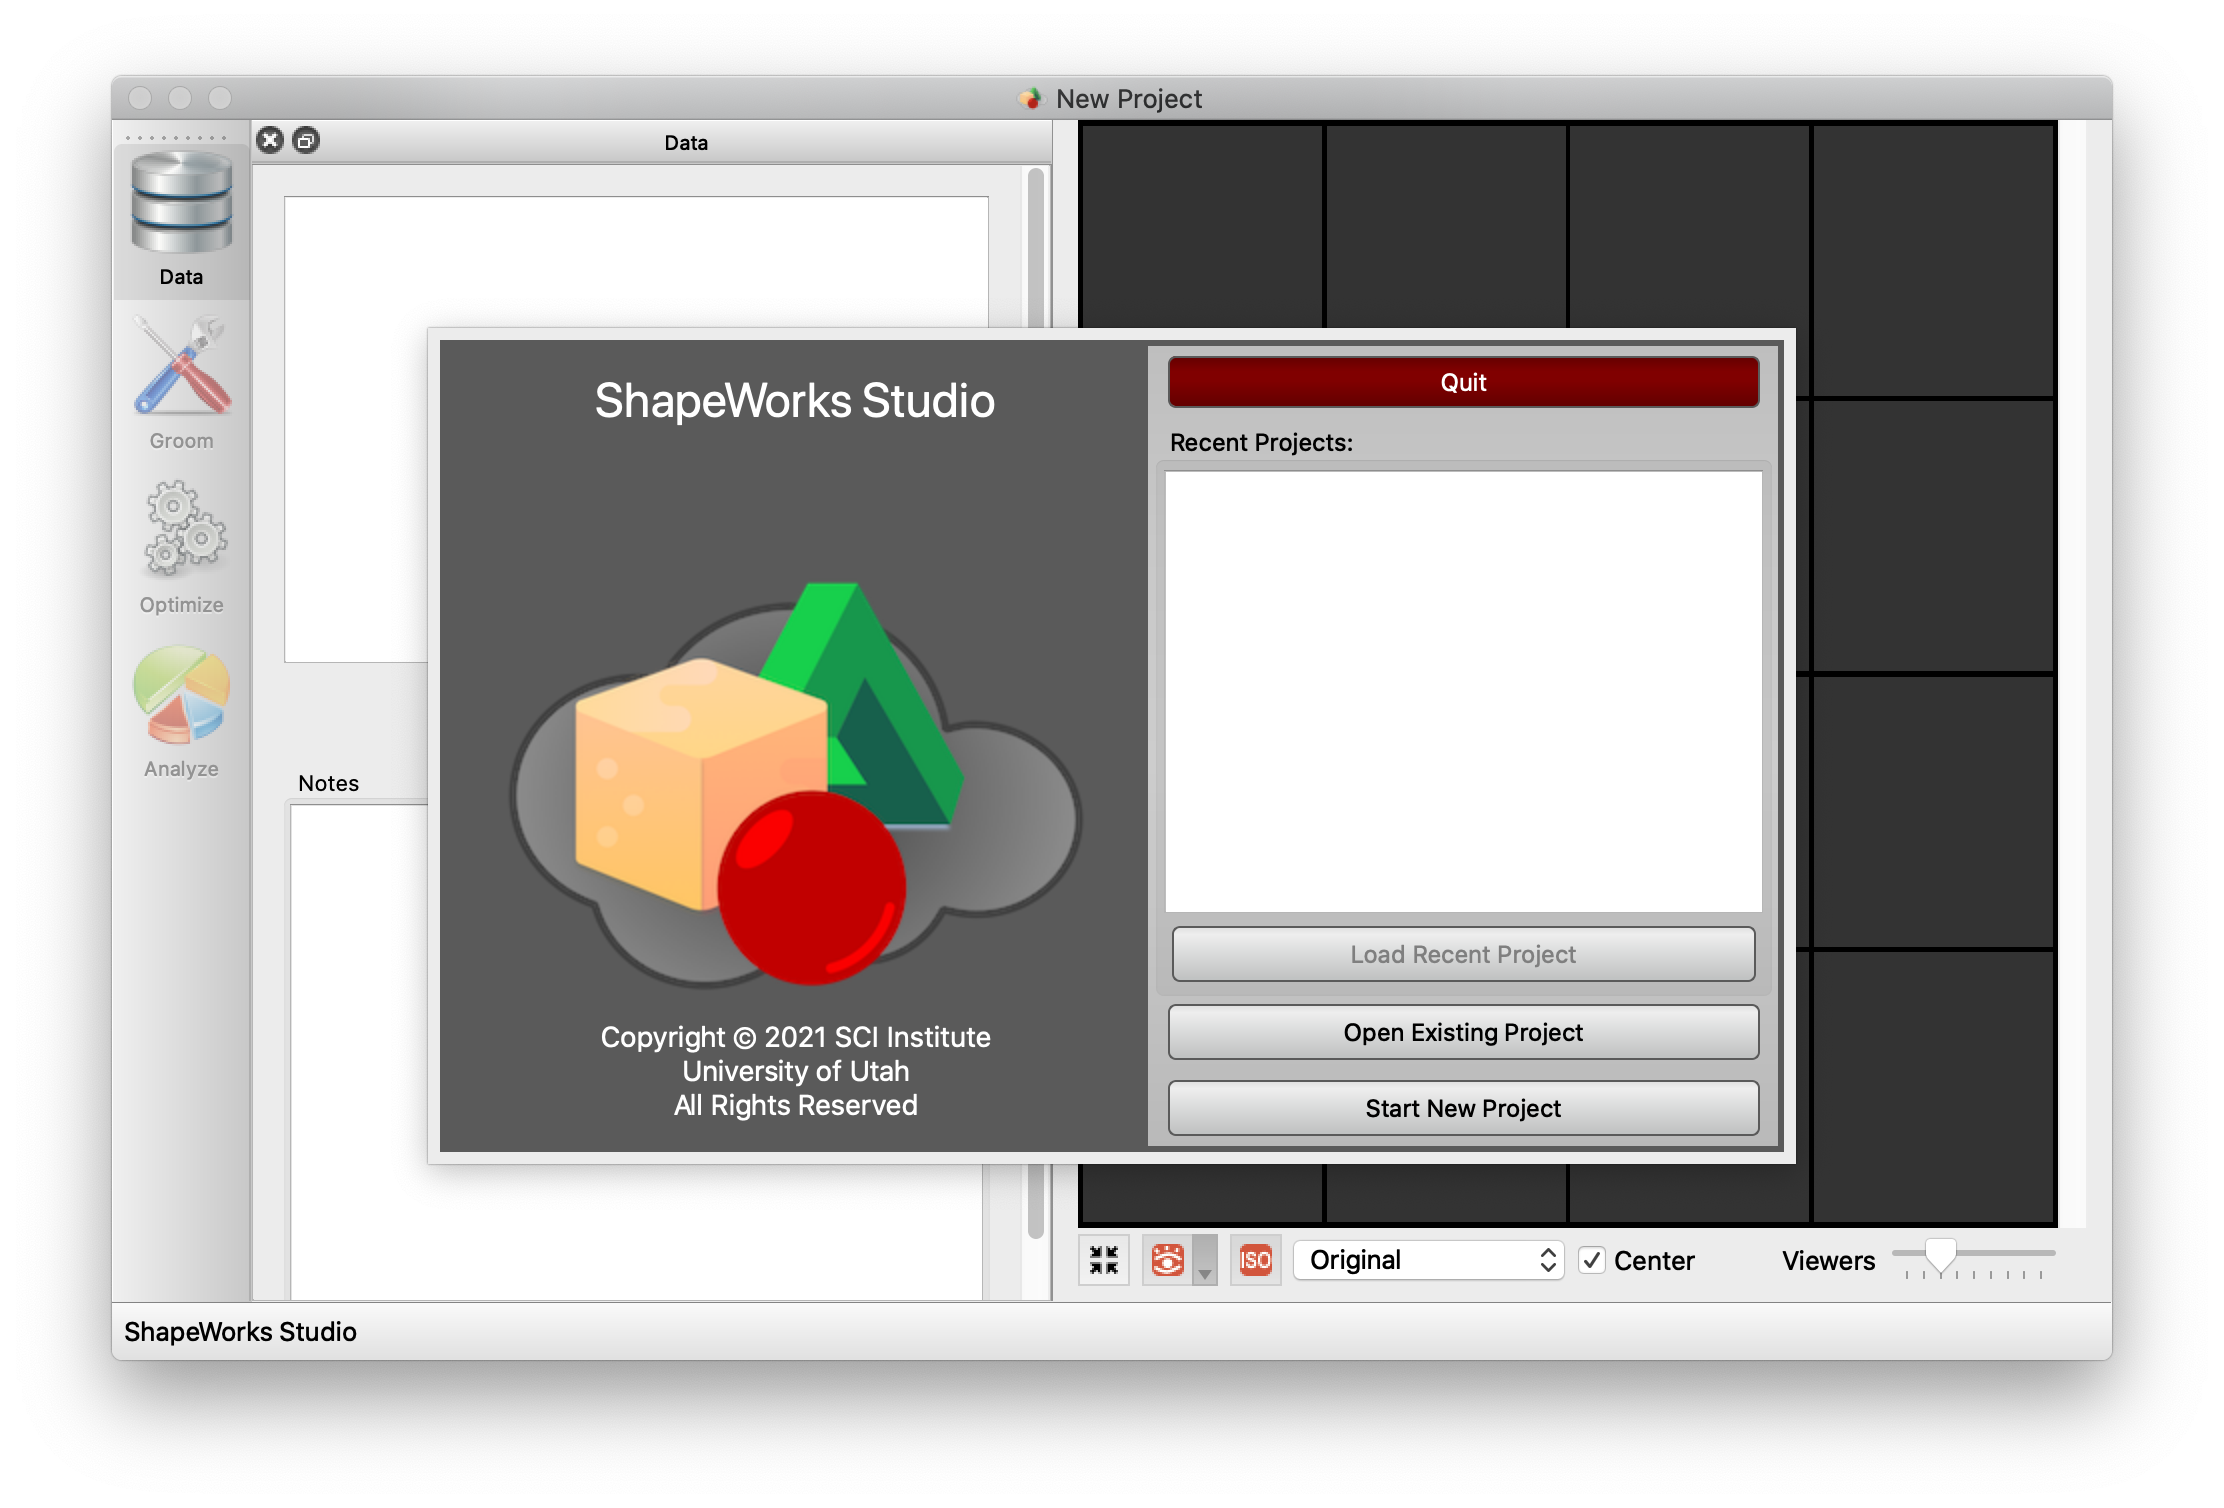
The splash screen provides access to recent projects and an option to create a new blank project.
Data Module
The Data Module shows the project data table, landmarks, constraints as well as user-defined/saved notes. This module enables you to add and remove shapes (segmentations and surface meshes) to your cohort, define anatomical landmarks, place cutting planes and free form constraints for surface exclusion.
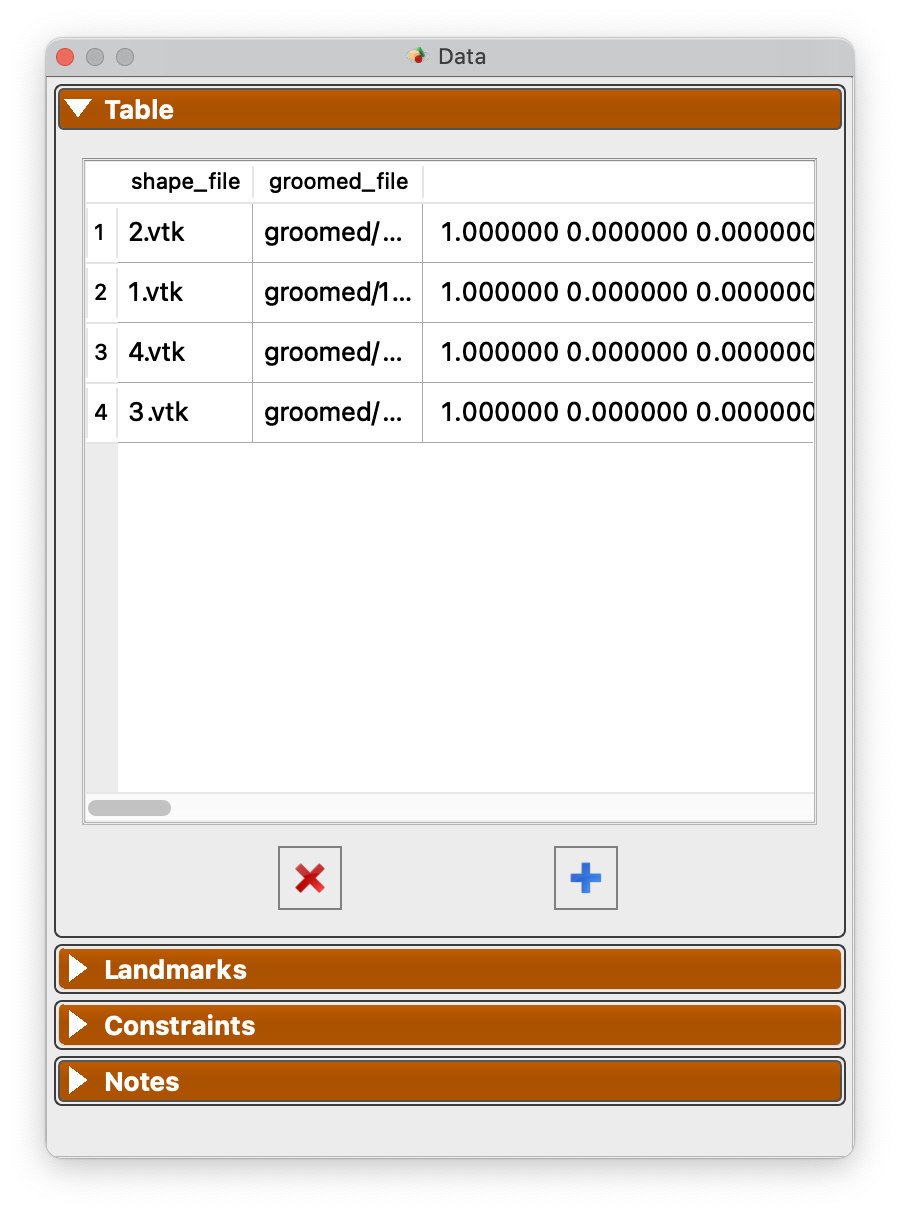
See Studio Data Module for more information.
Groom Module
The Groom module provides options to preprocess/groom the input data. Options differ for binary segmentations and meshes. You also have the option of skipping grooming if your data is already prepped.
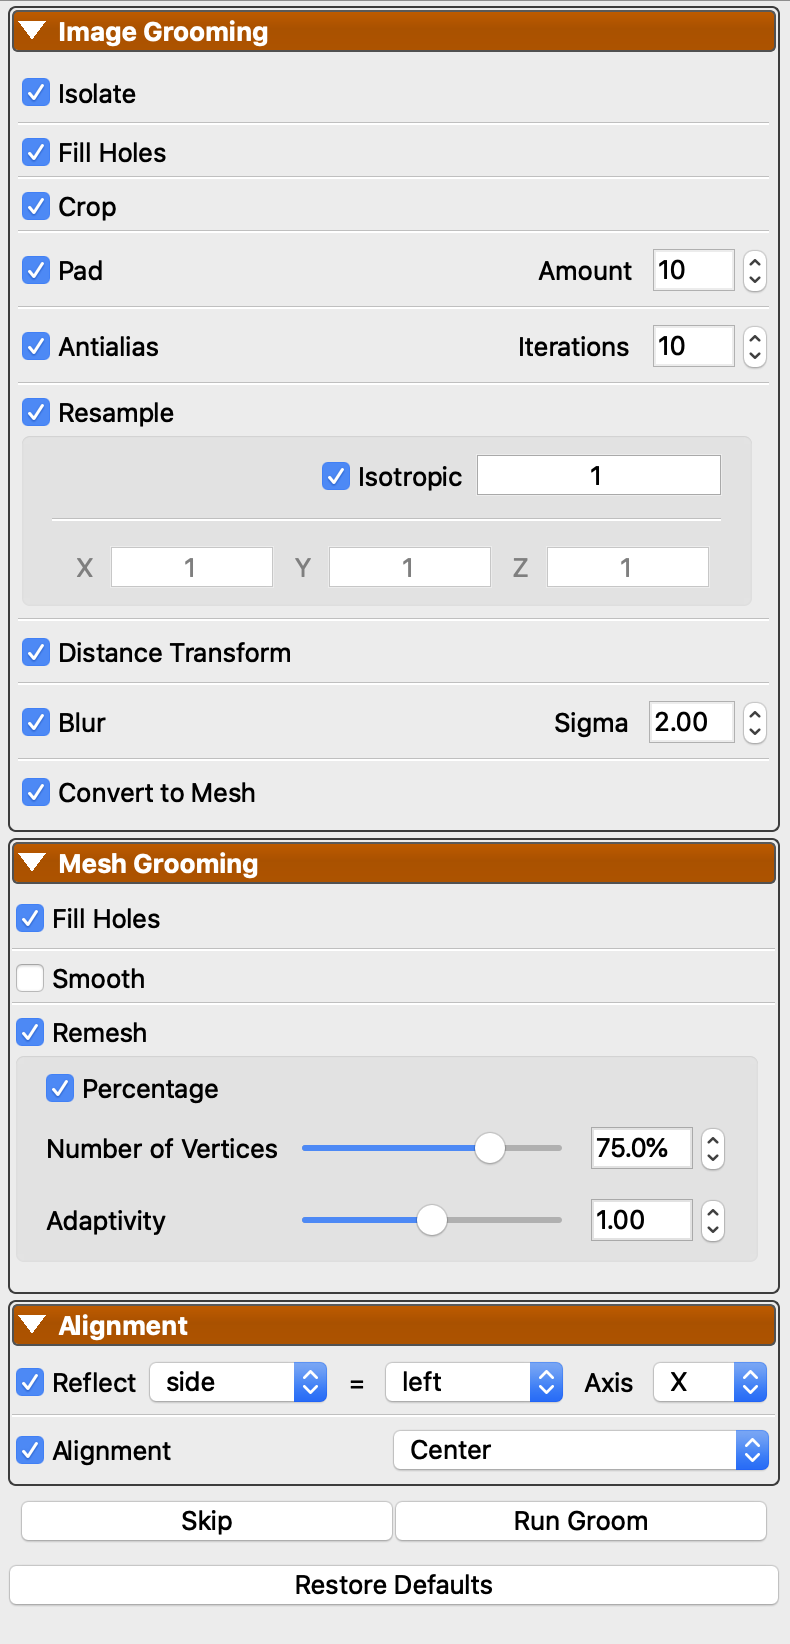
See Studio Groom Module for more information.
Optimize Module
The Optimize module provides options for the particle-based optimization. After selecting options and clicking "Run Optimize", you can monitor the process of the optimization in real-time. Particle positions will be displayed on individual shapes as they progress where color encodes surface correspondences across different shapes in your cohort.
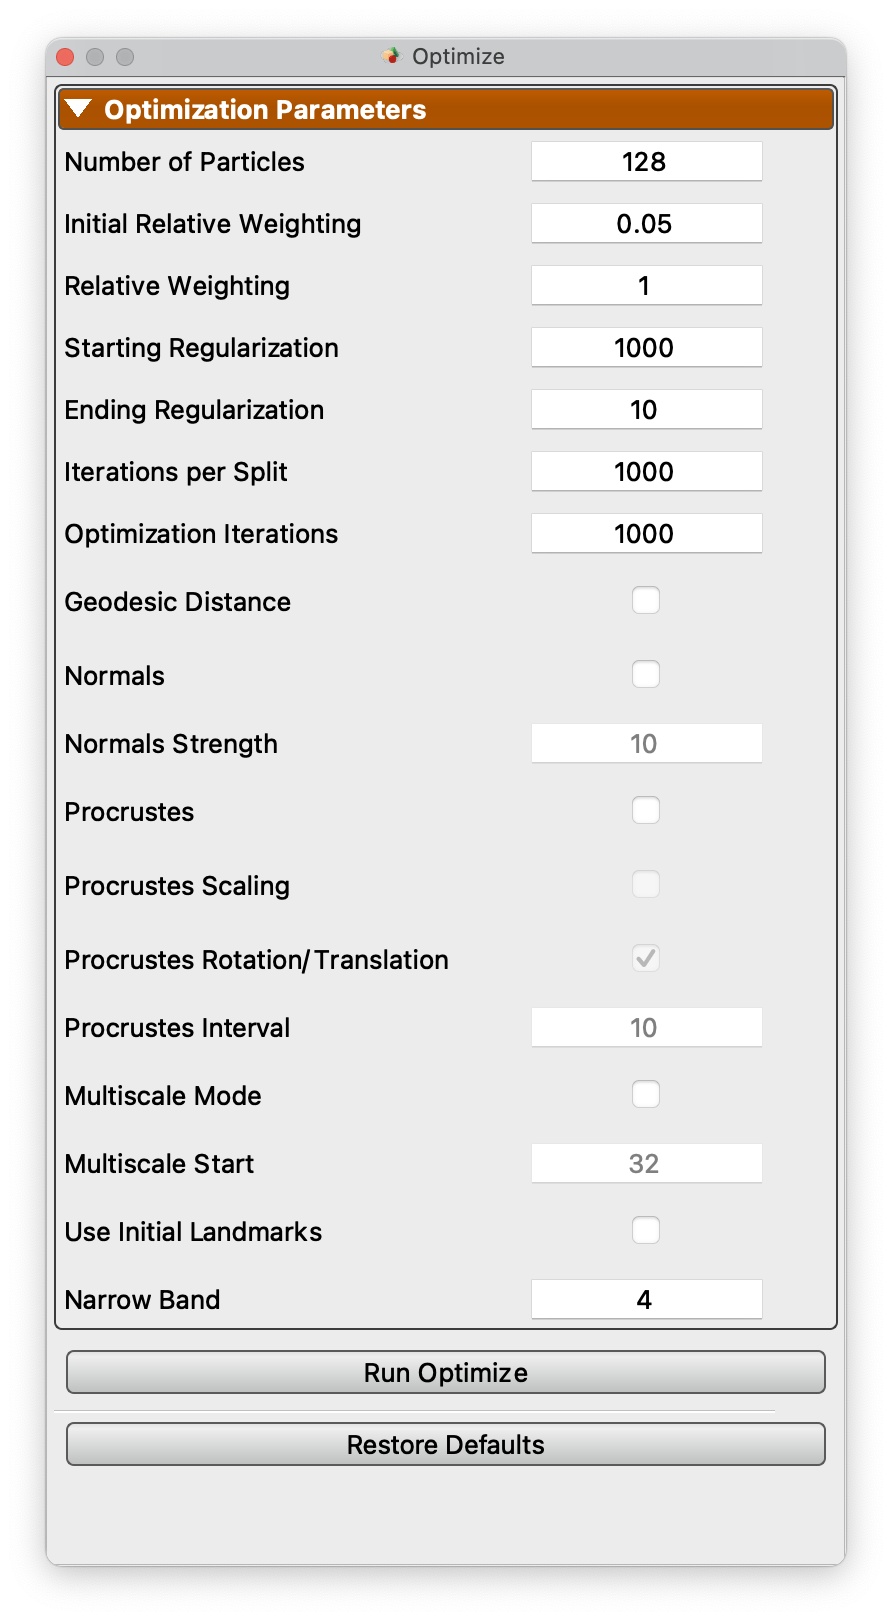
See Studio Optimize Module for more information.
Analysis Module
After optimization is complete, you may analyze the data in Studio using the Analysis module. There are several panels available in the Analysis Module.
See Studio Analyze Module for more information.
Preferences
Studio provides a number of preference options.
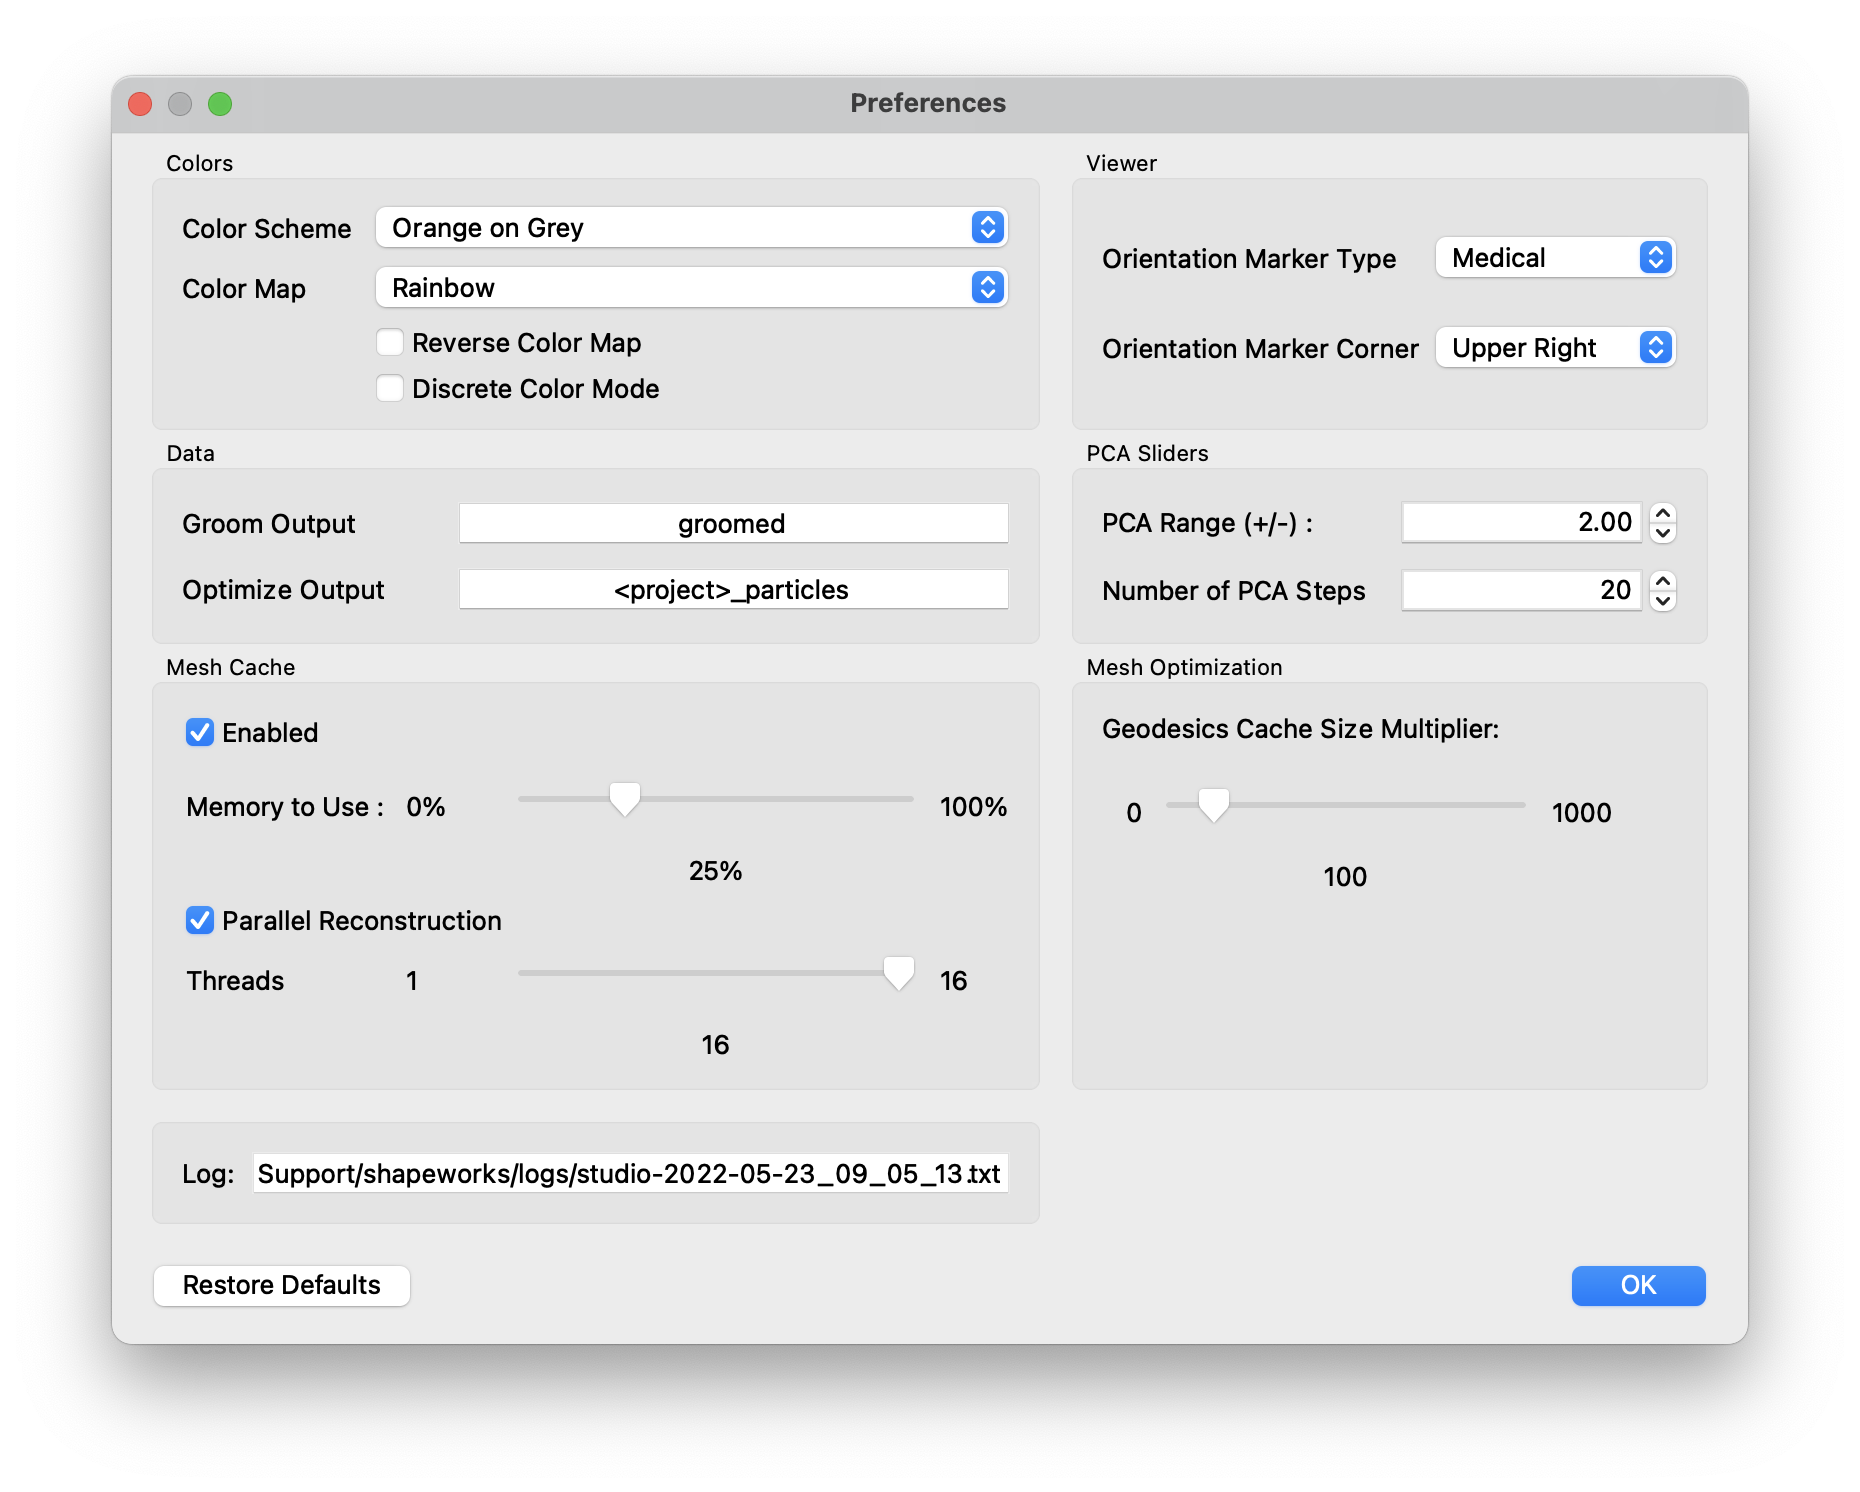
| Option | Description |
|---|---|
| Color Scheme | Base foreground and background colors for viewers |
| Color Map | Color map used for scalar ranges |
| Reverse Color Map | Option to reverse the color map |
| Discrete Color Mode | Option to use discrete colors for color map |
| Groom Output | Folder name for groom output |
| Optimize Output | Folder name for optimize particle output |
| Mesh Cache Enabled | Whether to use a cache of meshes |
| Mesh Cache Memory to Use | Percentage of phyisical memory to allow mesh cache to use |
| Mesh Parallel Reconstruction | Whether to use parallelized mesh reconstruction |
| Mesh Parallel Number of Threads | How many threads to use for parallelized mesh reconstruction |
| Orientation Marker Type | Medical, Triad, or None |
| Orientation Marker Corner | Upper Right, Upper Left, Lower Left, Lower Right |
| PCA Range | Number of standard deviations for PCA slider |
| Number of PCA Steps | Number of steps for PCA slider bar |
| Geodesics Cache Size Multiplier | Multiplier value for geodesics caching |
| Log Location | A display of where the current log file is located |
Viewer Controls

See Studio Viewer Controls for details on viewer controls.
Menus
File Menu
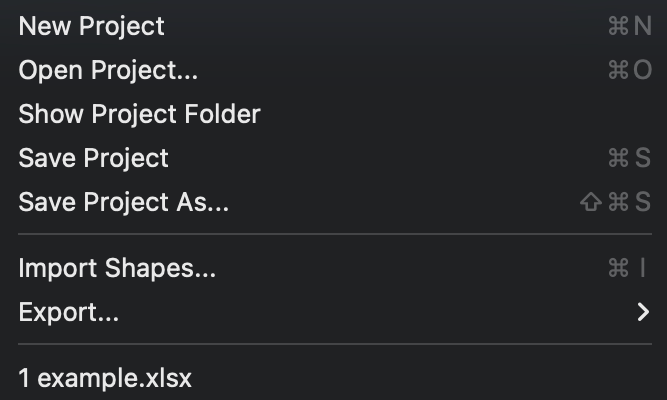
New Project- Create a new projectOpen Project- Open a project from diskShow Project folder- Open Explorer/Finder for project location (windows/mac)Save Project- Save project to diskSave Project As- Save a copy of the project to a new fileImport Shapes...- Import new shapesExport- See export below- Up to 8 recent projects are shown at the bottom
Export Menu
See Studio Export Options for details on export options.
Project setup
ShapeWorks Studio and the shapeworks commands groom and optimize store project data in an XLSX spreadsheet. The spreadsheet format profiles a uniform, easy to edit, easy to organize way of inputing data into shapeworks for grooming, optimizing and analyzing data.
See Here for more details regaring the project sheet and the python API available to generate the project sheet.